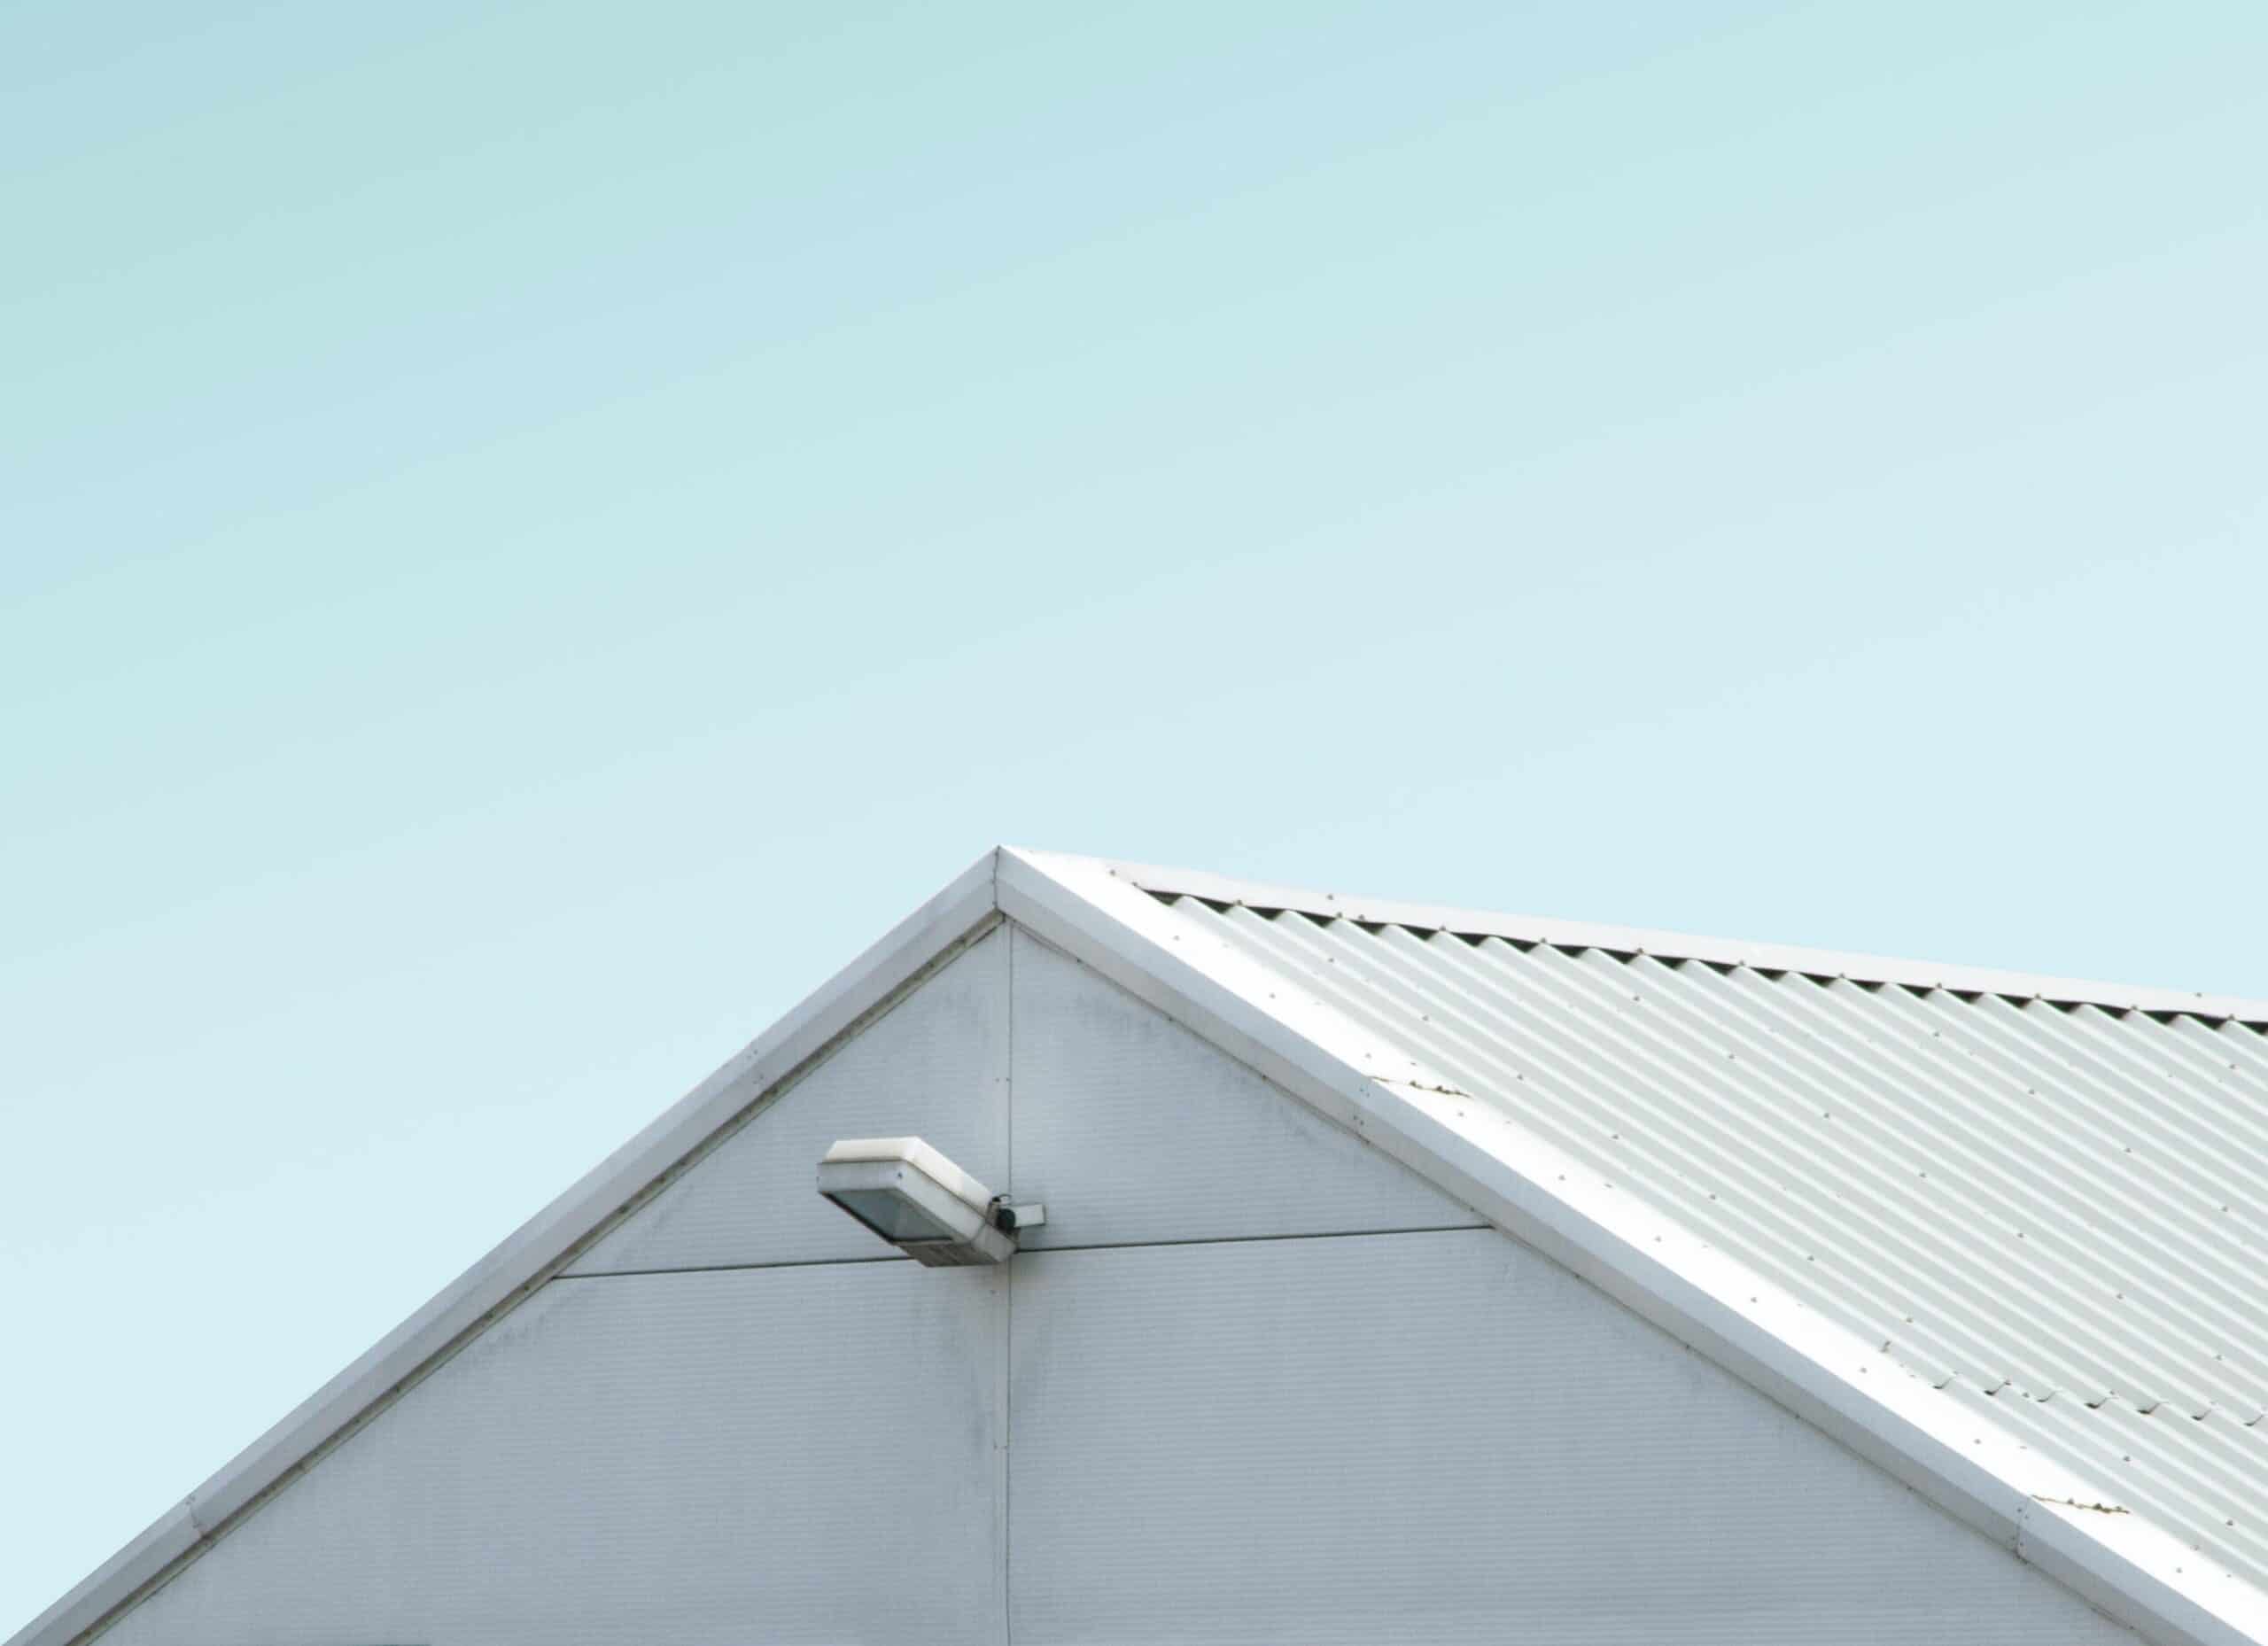
Installation Guide For Corrugated Roofs
Every homeowner should consider installing gutter guards to protect their home from flooding, pest invasions and roof damage. Some common concerns for installing gutter mesh on corrugated roofs include expensive installation, how they’ll look, and their durability.
Our DIY gutter mesh kits mean that you won’t have to hire professional roofers to get the job done. You also won’t need to compromise your home’s aesthetic because they are designed to be seamlessly integrated, matching your existing corrugated roof colour. Both our aluminium and steel gutter guards are durable, lightweight and long-lasting.
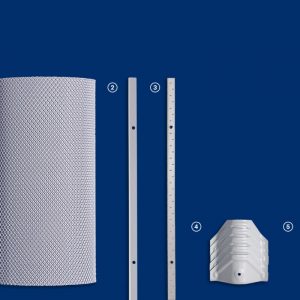
Read our complete guide on how to install your DIY gutter guards correctly on a corrugated roof. Most of what you’ll need is included in your DIY kit for easy instalment but you will require some additional tools & equipment:
✓ Protection for eyes & hands
✓ Drill
✓ Reliable ladder
✓ Strong wire cutters
How To Safely Install DIY Gutter Guards
It’s imperative that you’re properly prepared to be working on your corrugated roof and that you’re wearing protective gear. Wear decent work gloves and eye protection when cutting the wire and removing wet debris from the gutters. Most importantly, don’t ever climb a ladder that you haven’t checked for rot, instability or other damage. On the day of installing your DIY gutter guards, don’t work on your roof in windy or wet conditions.
✓ Don’t work around pets or children
✓ Avoid working in bad weather
✓ Don’t stand your ladder on an uneven surface
✓ Check your roof for loose wires before working
✓ Watch out for power lines
Prepare Your Gutters
Before beginning your DIY gutter guard installation, take time to clear your gutters of debris and rubbish. Use a hose if needed to remove stubborn piles of accumulated leaves. Your new gutter guards will be most effective when your gutters are completely clean prior to installation.
Gutter Guard Installation For Corrugated Roofs
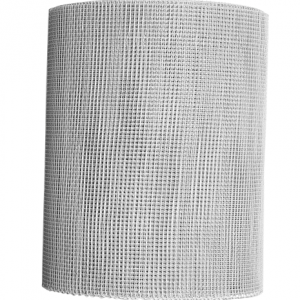
Step 1: Lay your mesh along your gutters
You’ll need to know how long to cut your mesh per each section of your gutters. Position the mesh at one end of a straight section of gutter and unravel slowly until you reach the other end - making sure that the mesh is lying flat. Trim with wire cutters but remember to keep enough excess mesh to secure over the edge of the gutters (approximately 250 mm).
Step 2: Secure with trim
Before you secure the gutter mesh to your corrugated roof, attach it to your gutters using the trim. Make sure that the mesh is lying flat and resting under the trim before drilling the trim at even intervals to the outer edge of the gutter. Repeat this process until you have completed all the trim.

Step 3: Cut your gutter mesh at intervals
The next step is to make even cuts along the top side of your gutter mesh to ensure it sits well over the contours of your corrugated roof. For every second ridge in your roof’s corrugation, make two 40 mm vertical cuts in the saddles. This will ensure maximum protection for your gutter against debris sliding down from your roof.
Step 4: Attach mesh to your roof using saddles
It’s now time to secure the gutter guard to your corrugated roof with the saddles provided in your DIY kit. Position saddles on the ridges of your roof, taking time to make sure they’re properly in place before screwing down. As a rule, don’t over-tighten your screws when securing the saddles - this will only make it harder to remove them later. Expert tip: secure the saddles one metre apart before drilling a saddle in between them.
Still have questions about how to install our DIY gutter guards on your corrugated roof? See our FAQ page or get in touch with us for more information.