
Tiled Roof Installation Guide
All homeowners should consider DIY gutter guard kits for their tiled roofs. Not only to protect the integrity and extend the longevity of your tiled roof, but to avoid clogged gutters and damage caused by pests. For maximum effectiveness, follow our tiled roof installation guide.
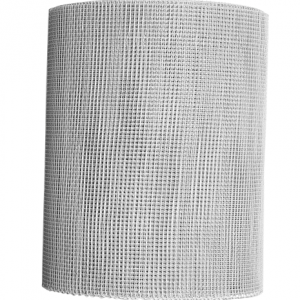
We have designed our DIY gutter guard kits to come with most of the things you’ll need for relatively easy & quick instalment on your tiled roof. Here’s a list of the extra tools and equipment required to get the job done:
✓ Drill
✓ Wire cutters
✓ Safe ladder
✓ Protective gear
Safety Reminder
Before beginning the installation, make sure that you’re wearing protection for your eyes and hands. Also make a point of checking that your ladder is stable and has no signs of rot. For the day of installation, don’t choose wet or windy conditions to avoid roof accidents & injury.
✓ Stand your ladder on a flat, non-slip surface
✓ Don’t work in damp or windy conditions
✓ Wear gloves & eye protection
✓ Don’t work with pets or children present
✓ Inspect your roof for wires & debris before working
✓ Check for loose tiles
Preparation
Make sure that your gutter is clean & clear of any foreign material before installation. Remove piles of damp leaves, sticks and other debris so that you can get the most out of your new gutter guards.
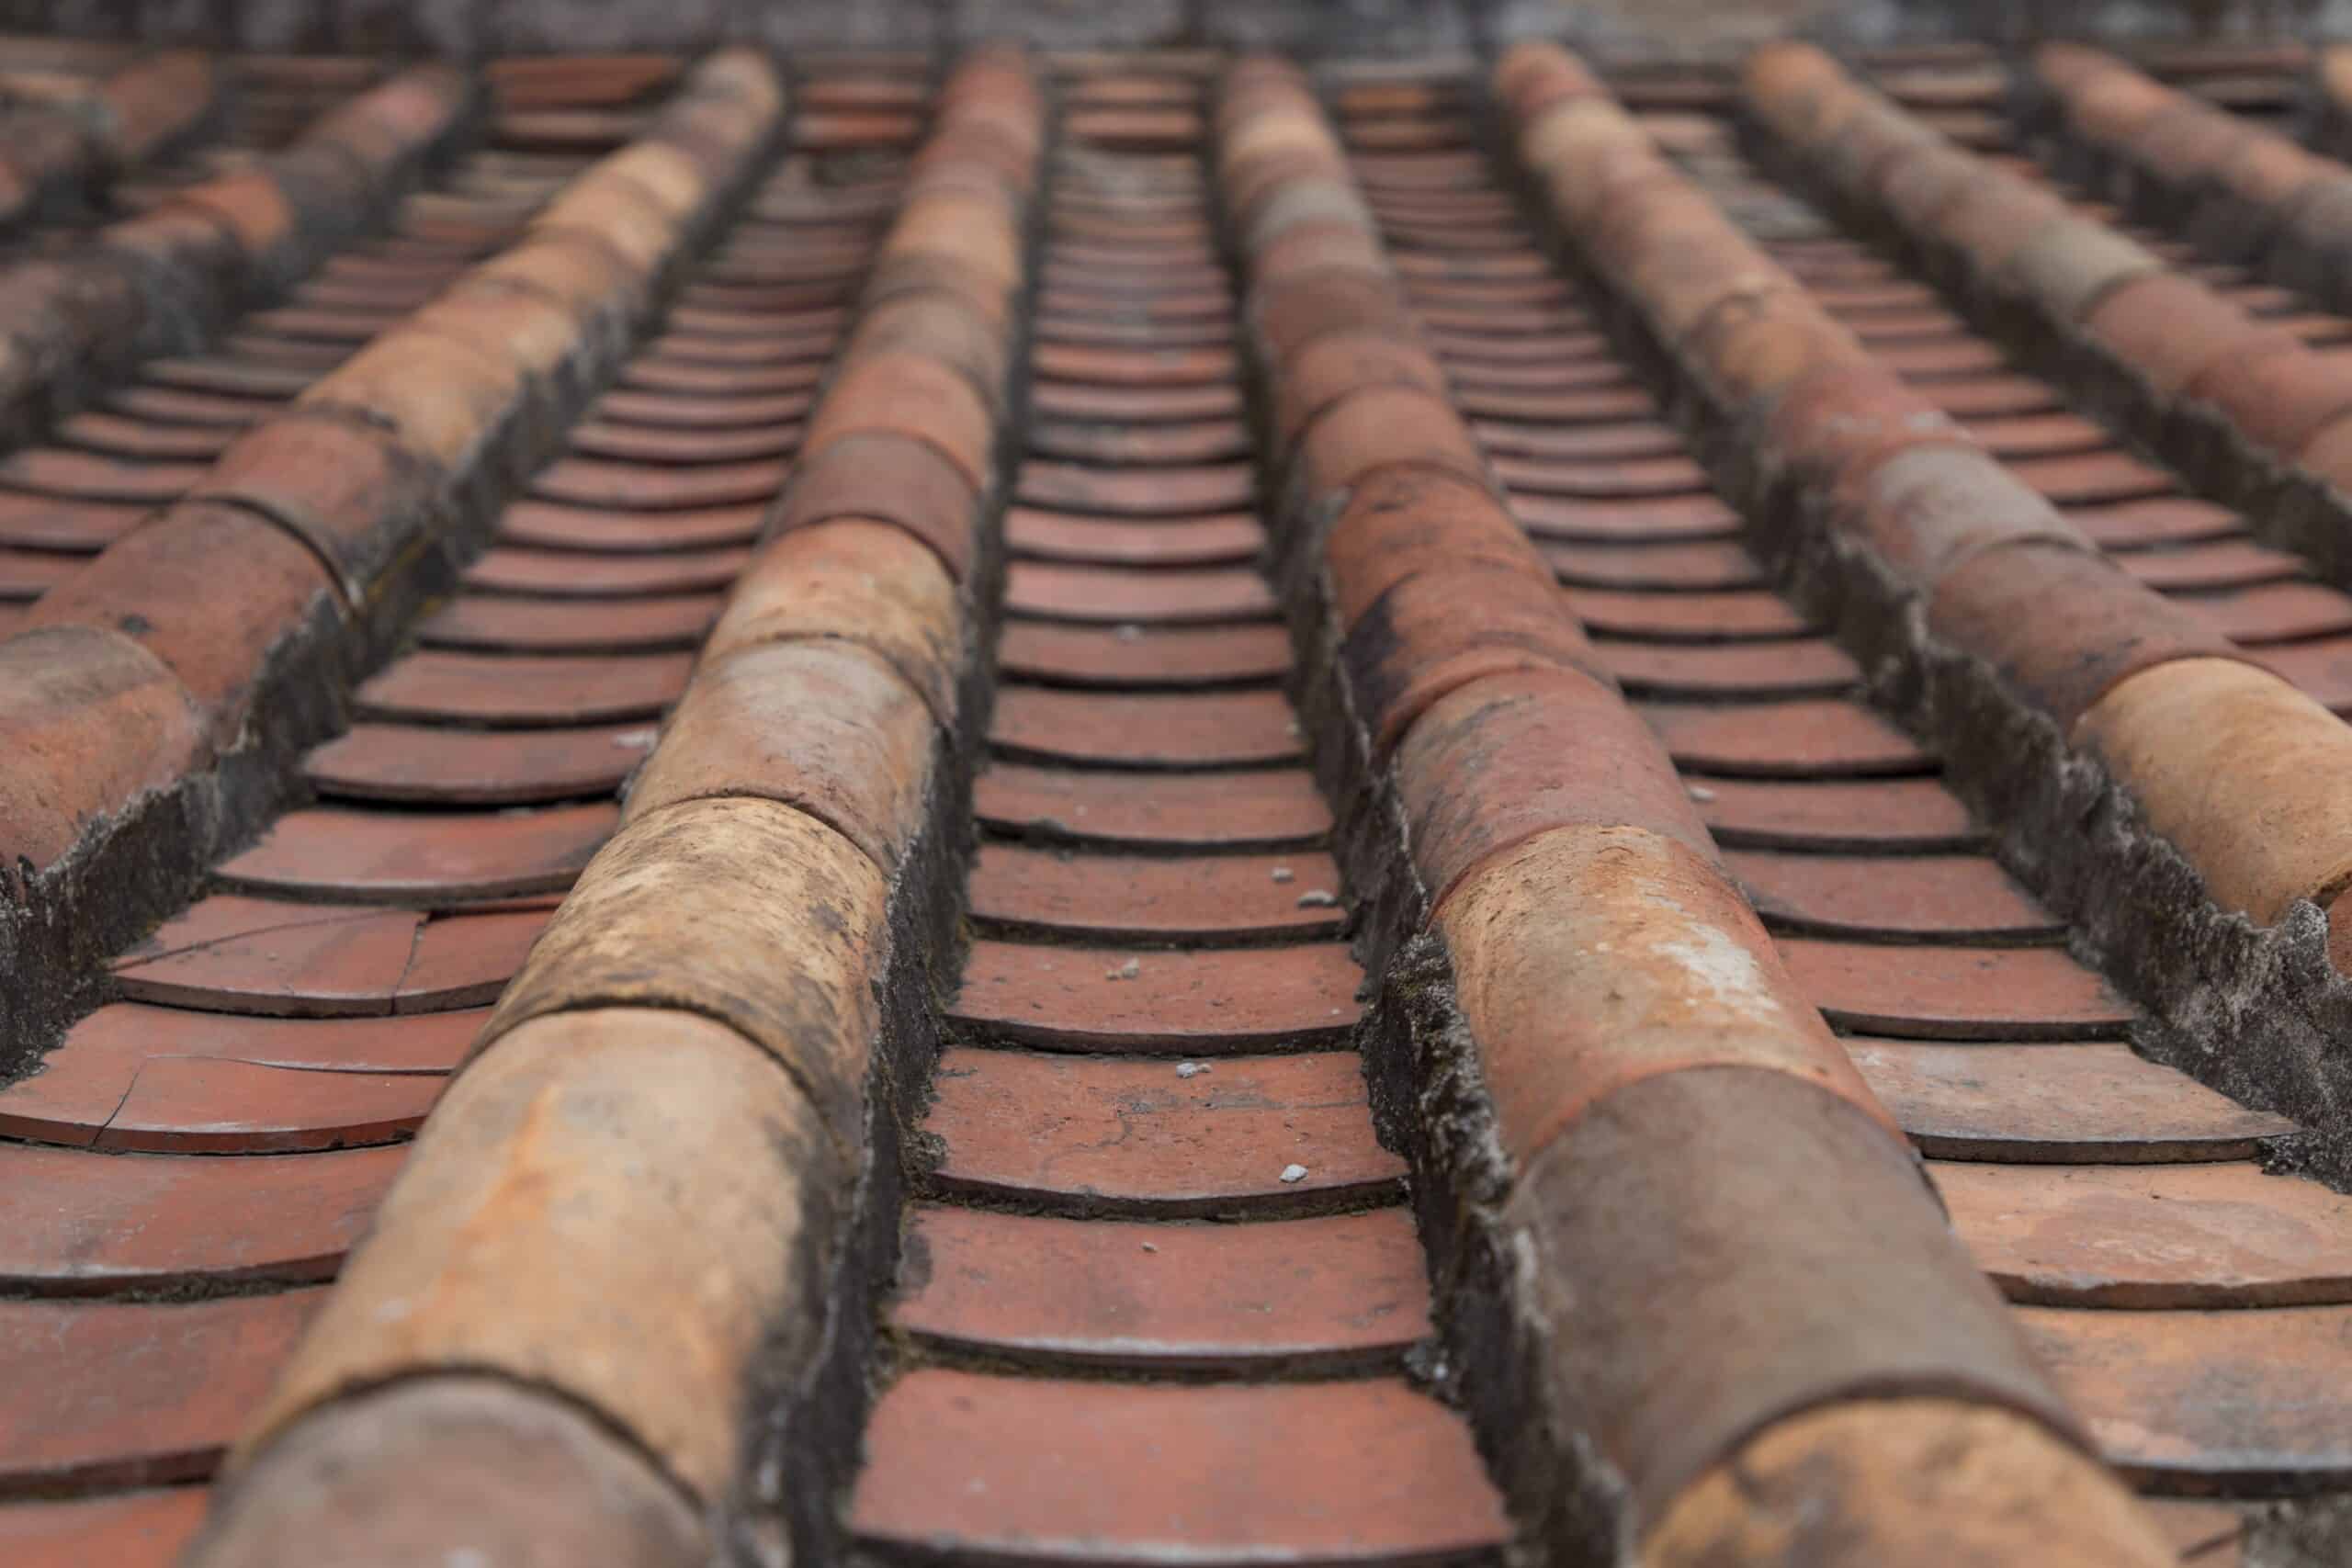
Gutter Mesh Installation For Tiled Roofs
Step 1: Measure your mesh
Roll out your gutter mesh and lay it flat along the sections of your gutter to be covered. Trim the excess but remember that you must keep enough mesh for it to comfortably overlap the edge of your gutters (about 250 mm).
Step 2: Drill mesh to gutter
Use the screws and trims in your DIY gutter guard kit to attach the mesh to the outer edge of your guttering. At this point, the mesh isn’t yet installed on your roof tiles. Using a drill, attach the trim along your gutter at 250 mm intervals, keeping the row of screws aligned with the top straight edge of your gutter. Continue this step until you have secured mesh to the full length of your gutters.
Step 3: Trim your mesh
With your gutter mesh attached, you can now trim the bottom excess with your wire cutters. Don’t cut too closely to where you’ve secured the mesh.
Step 4: Secure mesh to your tiled roof
Now you’re ready for the upper half of the mesh to be installed on your tiled roof. Lay the top half of your mesh flat over your tiles and trim with enough excess to lay underneath the second last row of tiles. You can choose to install your mesh underneath the last row of roof tiles, but for maximum coverage & protection, we highly recommend that you install your gutter mesh underneath the second last row of tiles.
Step 5: Mould & tuck your mesh
Because of the curved nature of tiled roofs and the rigidity of metal mesh, you’ll need to create a series of ‘relief’ cuts along your gutter mesh – preferably at the centre of each tile. This will allow the mesh to move with the contour of the tiles, making it easier to slip it underneath them for installation. Starting at one end, lift each tile in the row and smooth the mesh underneath it. If you find any tiles hard to lift, very gently leverage it with a screwdriver. For tiles that cannot be lifted (e.g. end), carefully trim the gutter mesh to fit the bottom of the tile.
Have any questions? Visit out FAQ page or contact us for more information on how to effectively install DIY gutter guards for tiled roofs.