
DIY Guide To Gutter Guard Installation
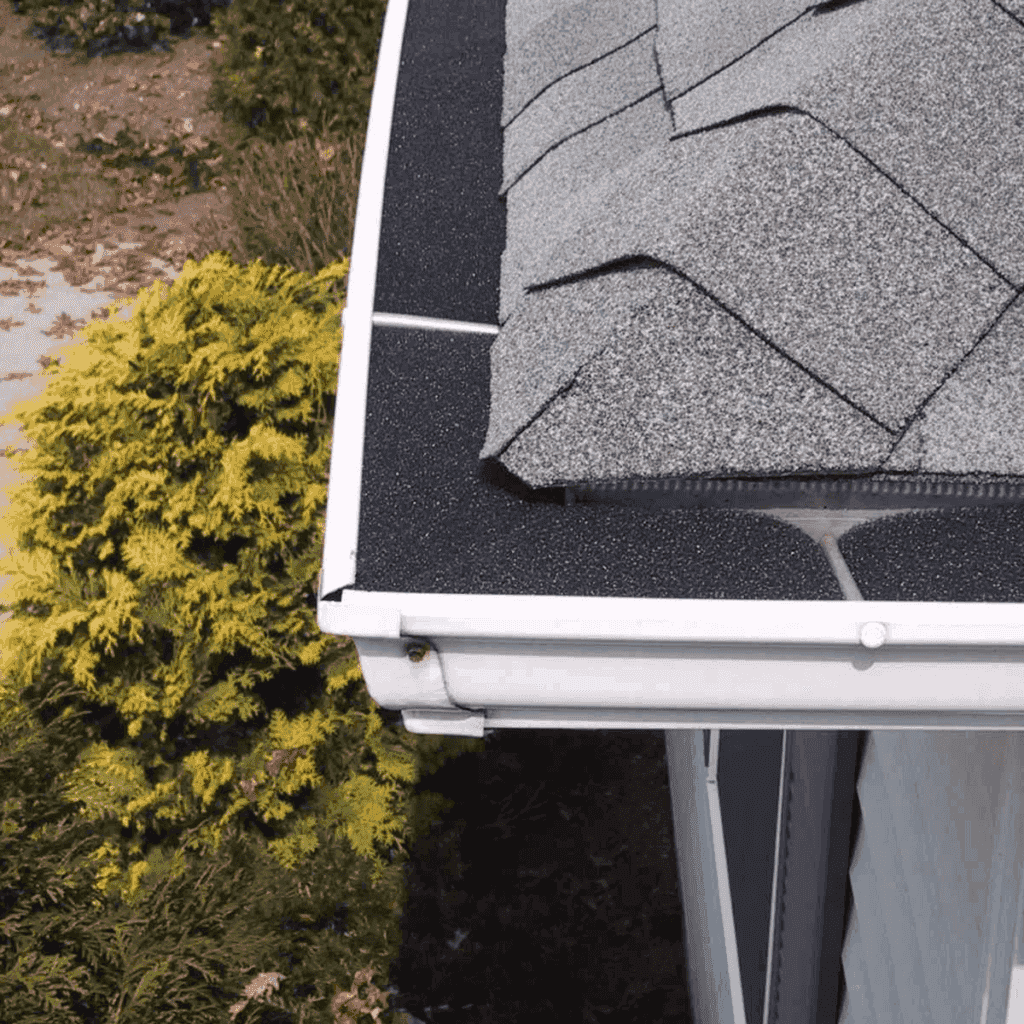
Gutter guards are essential for the protection of your home against water damage caused by clogged gutters, as well as damage caused by hailstones, embers and pests. But for your gutter guards to work effectively, they need to be installed correctly.
Our DIY gutter guard kits are relatively easy to install - not taking too much time or needing specialised tools. Just follow our guide on how to install your gutter guards properly for full protection year round. Also read our Gutter Guard FAQs for more information.
Supplies You’ll Need
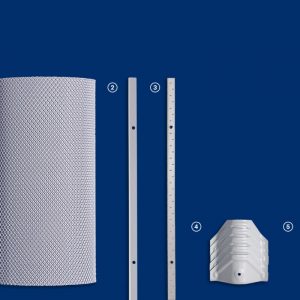
✓ Gutter Guarded DIY gutter mesh kit
✓ Wire cutters
✓ Drill
✓ Ladder
✓ Protective gear
Safety Reminder
Before you get started on your DIY, it's important you’re aware that there will always be a level of risk and danger when working on a roof. Be careful and cautious as you work, and remember to:
✓ Avoid working in wet or wild weather conditions
✓ Take note of the location of any power lines & wires
✓ Wear protective gloves while you work
✓ Use a sturdy ladder only on flat surfaces
✓ Keep children & pets away while you work
Preparation
Before you begin, make sure that your gutters are clean. They should be free of leaves, twigs and any other foreign matter before you start installing.
How To Install Gutter Guards In 4 Simple Steps
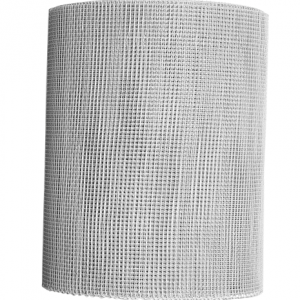
Step 1: Roll out the mesh
First, you’ll need to measure and work out the amount of mesh you will need to cover your gutters. Roll your gutter mesh along the length of your gutters before cutting off any excess. Remember, there should be an overlap of mesh at the ends (about 250 mm).
Step 2: Secure the mesh to the gutter
Before permanently attaching the mesh to your gutters, secure the gutter mesh in place using the screws and trims provided in your DIY kit. To do this, use the pre-drilled holes along the trim. Screw the trim along every 250 mm, keeping each new piece aligned with the previous section. Repeat until you have covered the entire length of your gutters.
Step 3: Trim excess mesh
Now that the mesh is fixed into place, check your work to make sure it will provide full coverage of your gutters. Next, carefully cut off the excess mesh with your wire cutters.
Step 4: Place & screw in the saddles
Saddles are the pieces of roofing that sit at the top of the gutter mesh to hold it in place. Drill the saddles into every second corrugation of your metal roof. Be careful not to over–tighten your screws, or you’ll just make the job of replacing your aluminium or steel gutter mesh more difficult in the future.
See also our guides on how to install gutter guards on specific roof types.