Installation Guide For Trimdek Roofs
As a homeowner with a Trimdek roof, installing gutter guards is something you should seriously consider to protect your home from rats, possums, and nesting birds, roof damage, and to help mitigate damage from flooding.
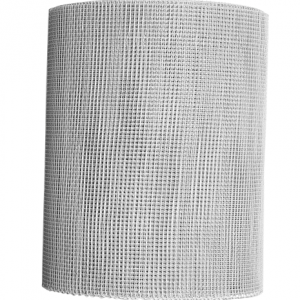
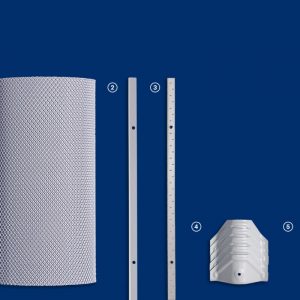
DIY gutter guard kits have been designed to include most of the things you need for the smooth and relatively straightforward installation on your Trimdek roof. Gutter Guarded have two different gutter guards kits available, the 4mm steel mesh gutter guard and the aluminum gutter guard.
The following is a list of the extra equipment and tools required to complete the job.
✓Protective gear
✓Wire cutters
✓Safe ladder
✓Drill
Safety Reminder
Before you start installing your gutter guard, be sure to wear eye protection and protective gloves, given you will be trimming and fitting the wire mesh. Also, inspect your ladder, make sure that it is stable at all times and that it has no signs of rot. Inspect the rungs and the overall condition of the ladder before you start, for instance, checking for any loose rungs or damage. Don’t pick wet or windy conditions for the day of installation to avoid injury or accidents. Additionally, when using the ladder, don’t strain to reach for anything that’s not already within arm's length, and keep three points of contact with the ladder at all times (both feet and one hand).
✓Don't stand your ladder on an uneven or slippery surface
✓Avoid working in wet, windy, or icy conditions
✓Be sure to check your roof for any loose wires before working
✓Watch out for power lines
✓Don’t work with pets or children nearby
Preparing Your Gutters
Before installing your gutter guards, it's imperative to clean your gutters of leaf litter and other debris and rubbish so that you can utilise the gutter guards effectively. Use a hose to remove any stubborn litter.
DIY gutter guard installation for Trimdek Roofs
Step one 1: Placing the mesh along your gutter
Roll the coil of gutter guard mesh along the length of a straight section of the gutter and cut to the required length. Ensure that you have a bit of excess length for each section, approximately 250mm, and fasten at one end with a temporary screw to hold it in place, preventing it from unraveling. Make sure that the mesh is lying flat.
Step 2: Securing the mesh with trim
The next step is to attach the mesh to your gutter using the trim supplied with your Gutter Guard Kit. Before you fasten the trim over the outer edge of the gutter make sure that the trim is covering the mesh and that the mesh is lying flat. Once it is secured, drill the trim to the gutter and repeat this process, leaving evenly spaced gaps between each screw.
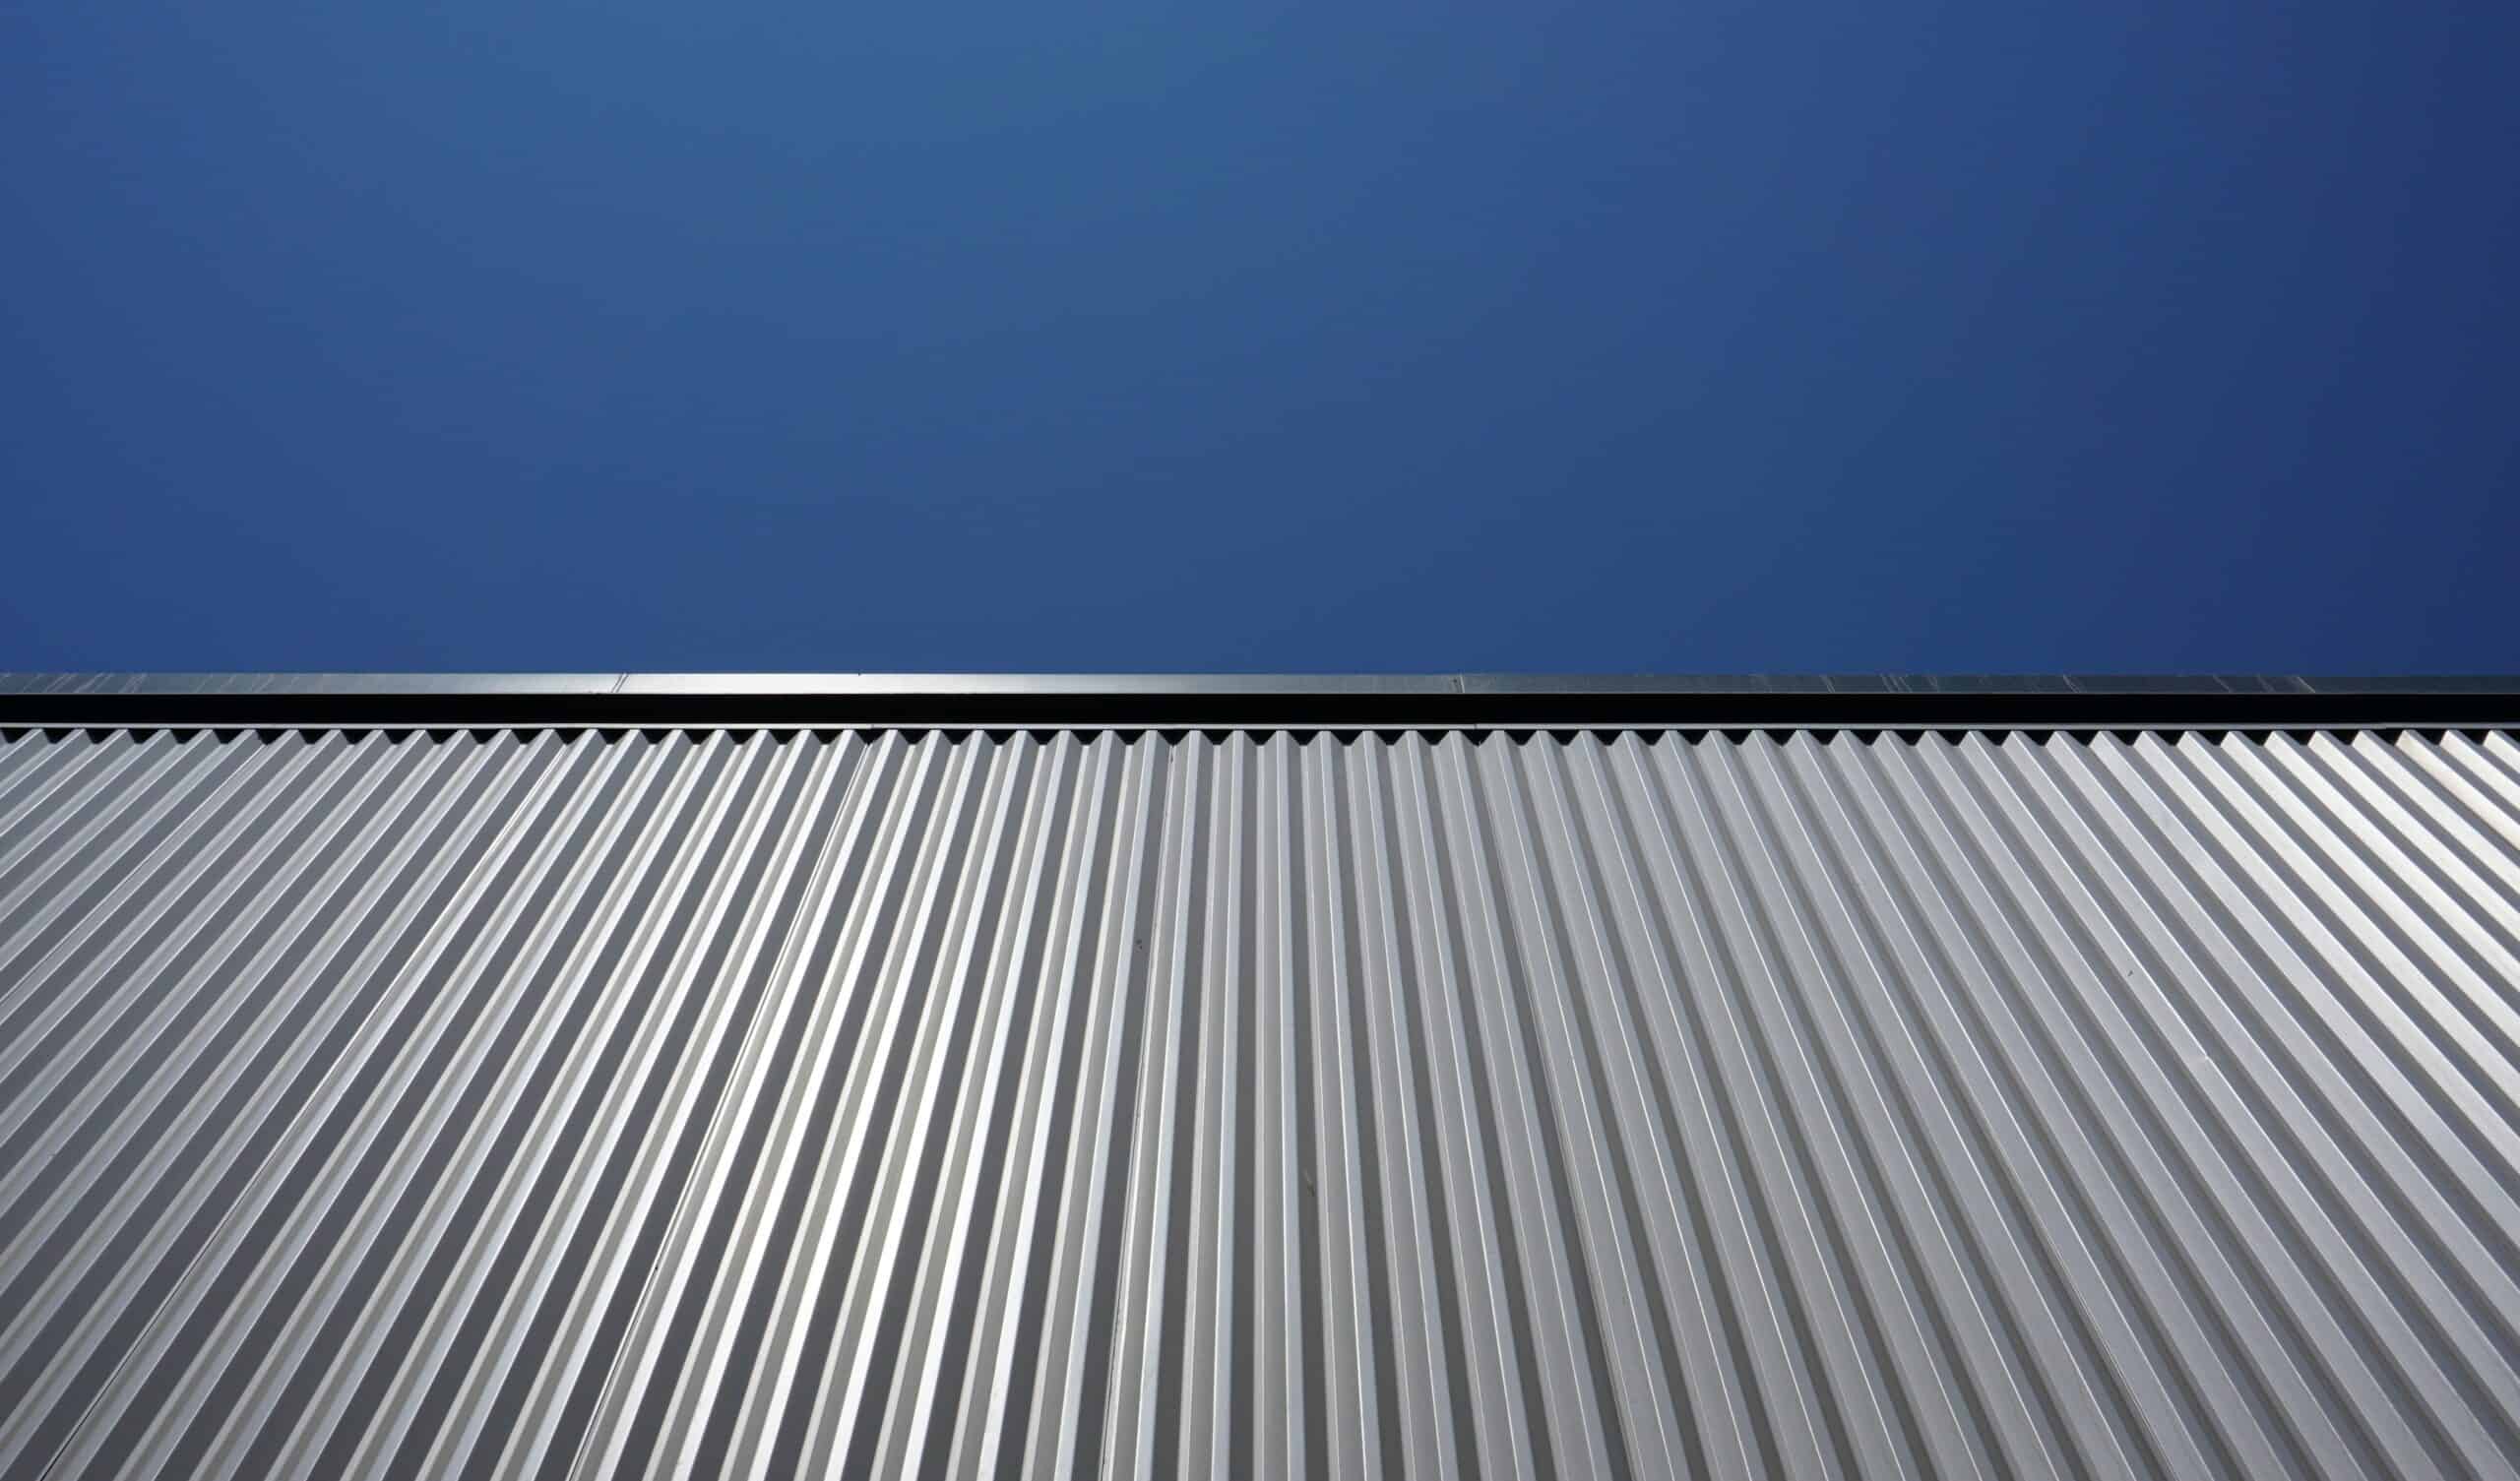
Step 3: Cutting the mesh at each rib of Trimdek
Before you screw the saddles into place over the mesh and roof, you will need to cut either side of each rib of the Trimdek roof so that the mesh can fit snugly around the ridges along the length of the roof. Doing this prevents leaf litter and debris from sliding down your roof and into your gutters.
Step 4: Attaching the saddles
The last step is to fit the saddles on every second rib along the Trimdek roof, provided in the DIY Gutter Guard Kit. Place the saddle into position, ensuring it is straddling the rib on the roof, and screw them into place. Try not to over-tighten your screws into the saddles as this makes it harder to remove them in the future.
Do you still have any queries you’d like answered on how to DIY install our gutter guards on Trimdek roofs? Go to our FAQ page for more information, or contact us.